In this blog, I take the first steps in the practical development process, which include choosing the working environment, naming the project and setting up the GitHub repository.
Windows Forms Applications
When I first learned programming ten years ago, I created many of these – Windows Forms Applications in Visual Studio. It seems to me that the to-be-developed tool is such an application – and can therefore be developed as such. Personally, I like the idea of coming full circle – starting and ending my technical education with the exact same working environment. Then, I developed calculators for some assignment; Today, I develop a Reinforcement Learning tool for my master thesis. Nice.
Windows Forms (aka WinForms) is a Graphical User Interface (GUI) class library bundled in .Net Framework. It provides an easy-to-use interface for developing applications for desktop, tablet, PCs (No Web Applications, though). Applications developed with this interface are known as the Windows Forms Applications. WinForms applications may contain different types of controls like labels, list boxes, tooltip etc. (cf. [https://www.geeksforgeeks.org])
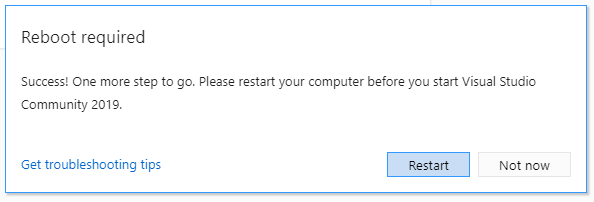
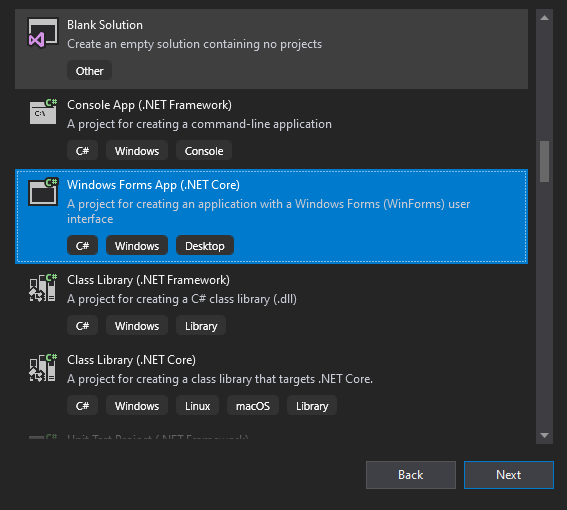
WinForms are included in Visual Studio. So I installed the latest community version and ticked the .NET desktop development box during its installation to include everything I need, as shown in Figure 1. There is also an option to work in C++, however, there is no need for it in this project. The total installation takes up 4.64 GB of disk space. After the installation is finished, a reboot is required, as shown in Figure 2. After the reboot, a new Windows Forms Application may be created, as shown in Figure 3.

Naming the project
I like three-letter names. All my pets have had the pleasure of having short, concise names – it has become a consistant trait of mine. Thus, this is the only requirement for me in this naming process.
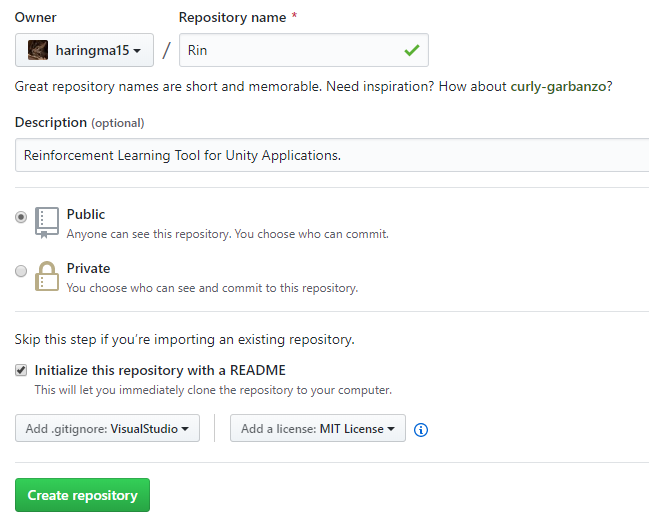
In one of the blogs about the design of this tool, I used the name Rinity – a combination of Reinforcement und Unity. The name is not too bad, just too long. Applying my naming convention, the name shall be Rin.
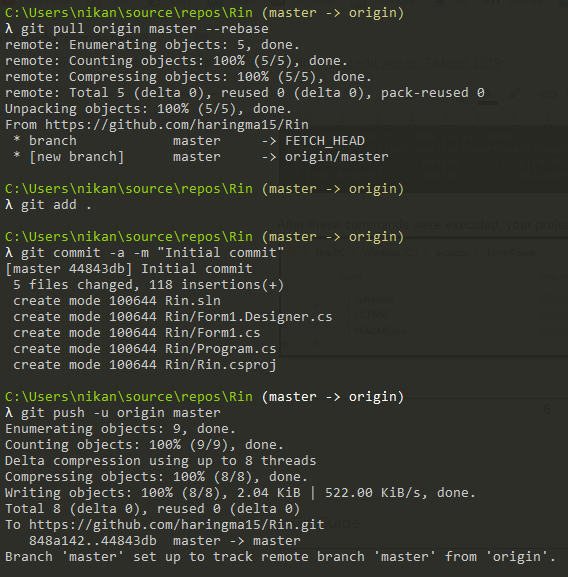
GitHub
This is easy. Sign in (4), create new repo (5), initialize git in the workspace folder (6), add the new GitHub repoitory as a remote host (7) and push the initial commit (8).


Sources
[https://www.geeksforgeeks.org]
Introduction to C# Windows Forms Applications. https://www.geeksforgeeks.org/introduction-to-c-sharp-windows-forms-applications/ (03/02/2020)